Well, we succeeded without too much problem. Really it was no problem at all, just time consuming hard work and a bit of snipping at each other. Well I supposed I did most of the snipping, or so it was implied.
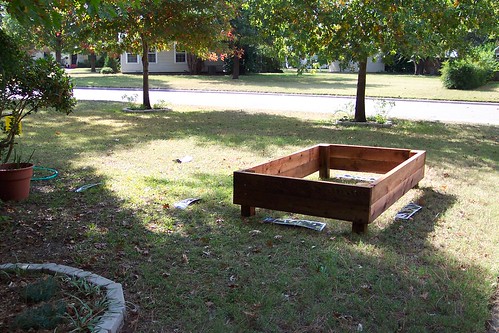
Anyway, we have our very first raised bed, proudly sitting in the front yard, waiting patiently for seeds. I'll get them in this coming weekend.
I found instructions on how to build a bed that I thought looked good and seemed the most useful so we followed them almost to a T (accidentally making a couple of adjustments) but all in all it turned out just right. We may tweak a few things this coming weekend, like adding some more screws (we bought too few) and possibly cutting the pvc arcs down (for attaching bird netting), since we missed that step and they're too tall. Neither of these things is crucial to the function of the bed though so we're not too worried about it.
And now, here's the photo journal of our two day journey. Did you expect anything less? :)

We measured and laid out these markers to get an idea of how big of an area these beds would take up. We will eventually put in 2 2x4 beds that will sit perpendicular to the 4x6 we built this past weekend.
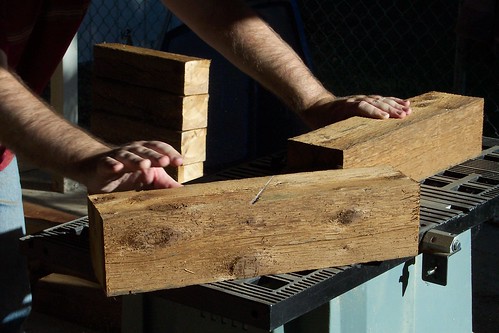
Back from a 2 hour trip to the store, Honey began cutting the wood.
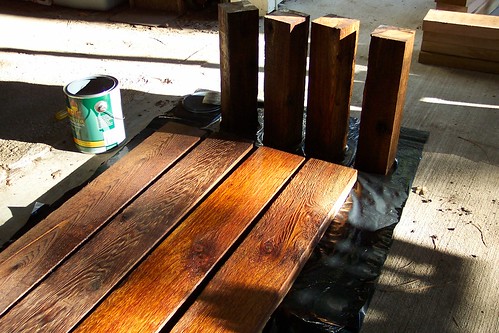
While Honey cut the wood, I stained the freshly cut pieces. It was just a semi transparent stain to seal the wood and protect it from the elements.
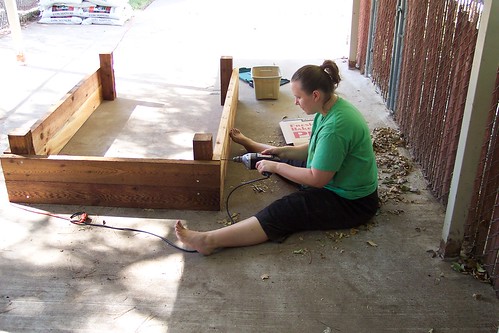
After letting the stain dry overnight, we began the assembly the next afternoon.
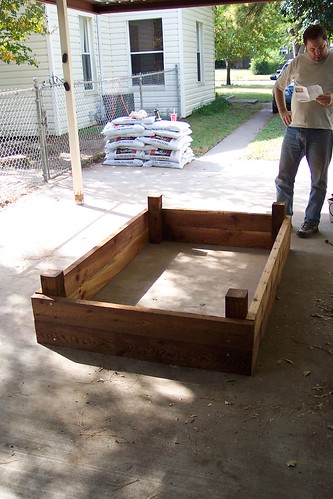
Finished! It is actually sitting upside down at this point. The protruding posts will sit down in holes dug in the ground to keep it from moving around.
Now to mark the place. Honey gouged the earth around the posts so we'd know where to dig the holes and the area to be tilled.

Till baby till! I think he's having fun. :D
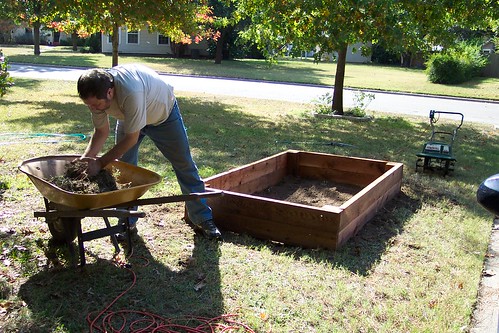
We removed the larger chunks of tilled up grass and set the bed in place.

Then we attached the pipes that will hold the bird netting frame. This design makes it easy to add or remove the frame with ease.
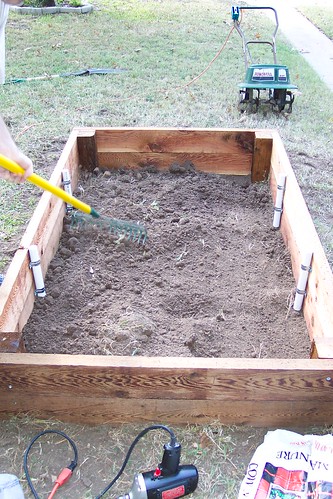
With the frame posts set, Honey worked to smooth the dirt as we added it a few bags at a time.
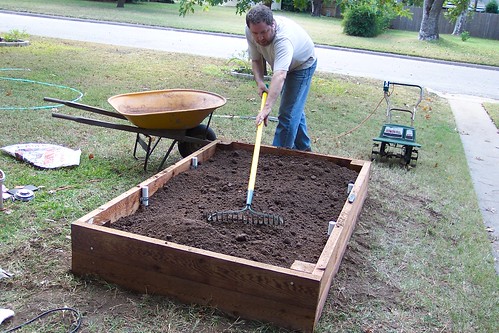
Now just smoothing out the full bed.
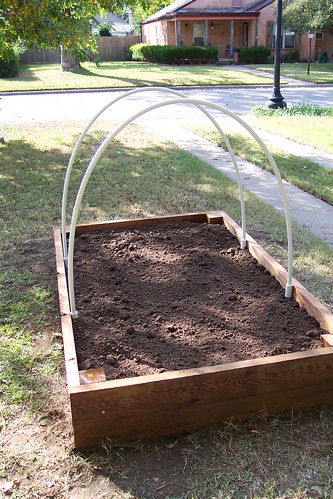
Here is the finished product.
Like I said before, the pvc arches are a bit too tall. They're supposed to be 6 feet long and we forgot to cut them down from 10 feet. All I need now is to buy some netting and plant the seeds!
5 comments:
It's lovely! I finally got fencing around my garden and got my cover crop in for the winter (finally!). My fencing is just chicken wire attached to t-posts for now, so not nearly as pretty as your raised bed, but eventually I want to put something nicer around it. I do have to fence mine in with wire, though, otherwise the chickens and rabbits would help themselves!
Thanks! I figured since it was going to be in the front yard, I ought to make it as nice as possible.
I've had to rethink my corn planting spot because I've been informed that running a row right across the front of our front room window is a bit too hill billy. :)
I haven't decided if I care though.
Yes!! It looks fantastic. I imagine you've already planted it up with spinach and lettuce, too. Do you have a link to the plans for the bed?
No link for plans (what would that be?) And no I've not planted yet since I need some netting first. I don't know if critters will dig up the seeds or not.
Your bed actually looks a bit small for corn...or were you not going to put it there? I don't think it's hillbilly. I grew up in a pretty little neighborhood in Illinois with pretty little houses. We were surrounded by corn. My grandparents still live there, in a retirement home. The view from their balcony is a corn field. And they're in the middle of town. I guess I'm just really used to seeing corn everywhere, so it doesn't look overly "country" to me.
Post a Comment